Kubernetes Environment
Setup
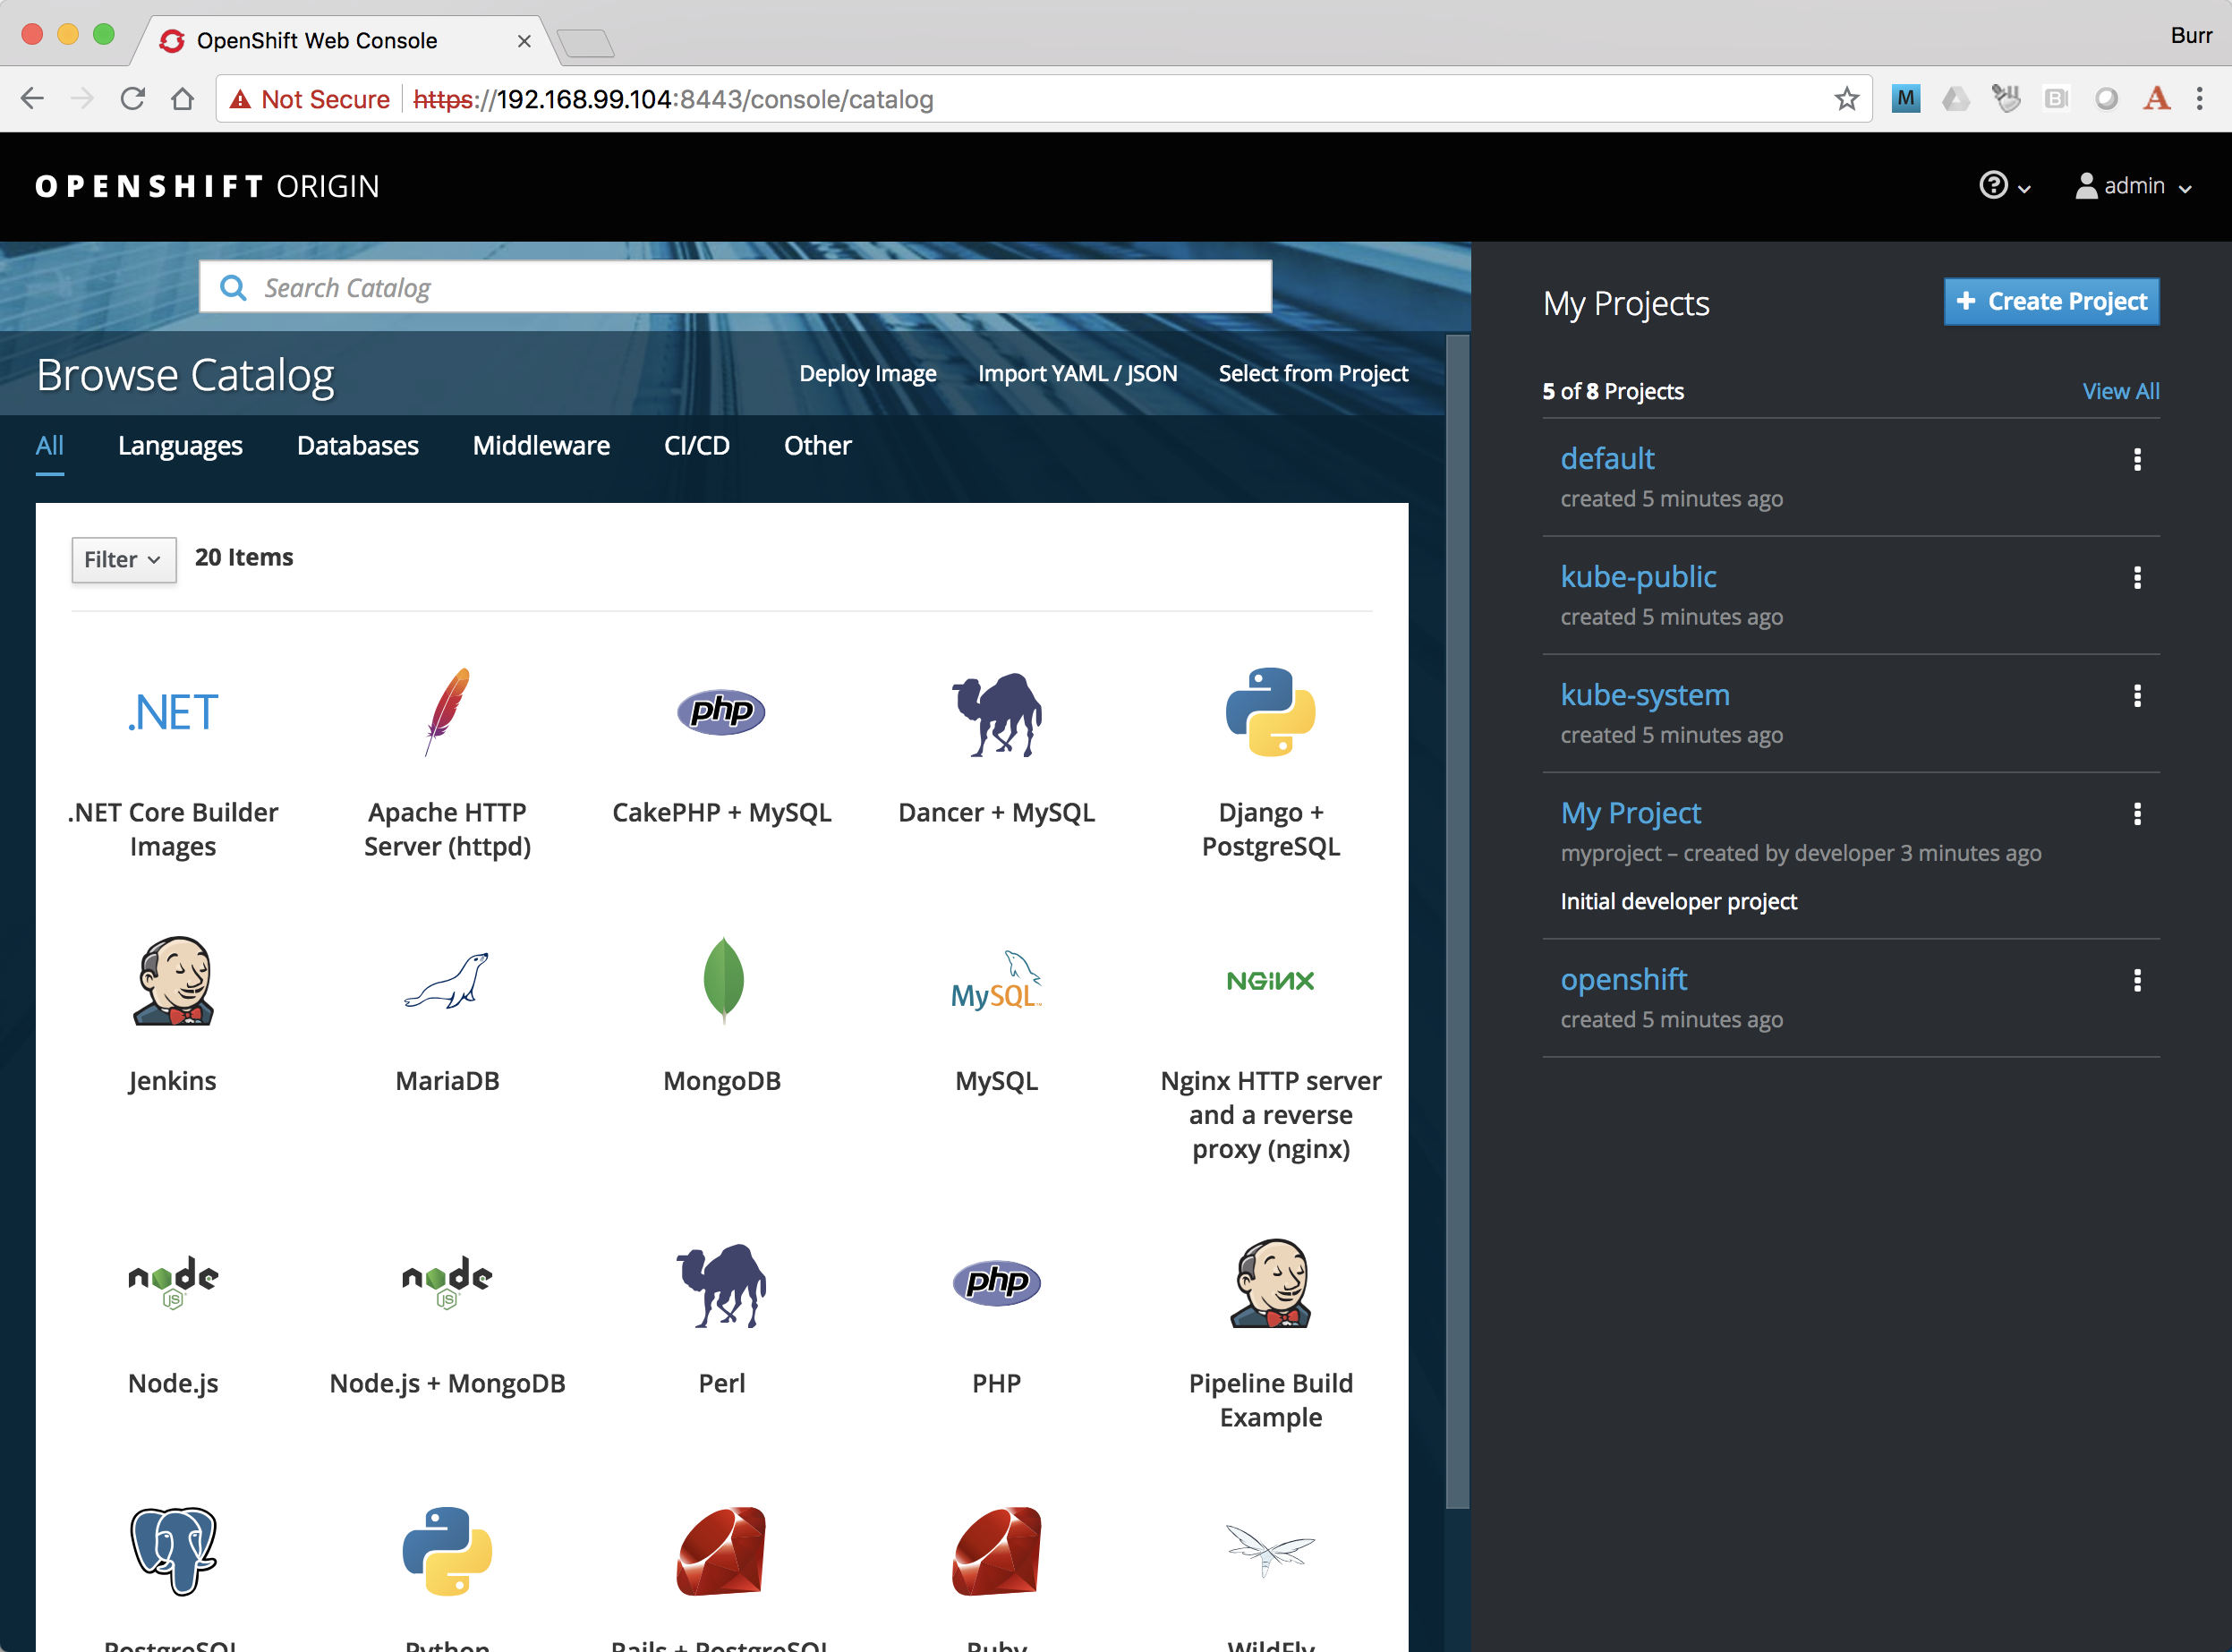
OpenShift is Red Hat’s distribution of Kubernetes
minikube and minishift are essentially equivalent and will be used for the demonstrations/examples below.
Prerequisites
- Docker or
- Podman
- brew install kubectx
- minikube
- kubectl
Downloads
Downloads & Install Kubectl CLI
1 | # MacOS |
Linux & Windows instructions for finding and downloading the a kubectl https://kubernetes.io/docs/tasks/tools/install-kubectl/#install-kubectl
Download & Install Minikube Cluster
1 | $ curl -Lo minikube https://storage.googleapis.com/minikube/releases/v1.4.0/minikube-darwin-amd64 |
More Minikube releases https://github.com/kubernetes/minikube/releases
OR
Download & Install Minishift Cluster
1 | $ curl -LO https://github.com/minishift/minishift/releases/download/v1.33.0/minishift-1.33.0-darwin-amd64.tgz |
More Minishift releases https://github.com/minishift/minishift/releases
Note: “minikube” should be interchangeable with “minishift” in the instructions below, if there is a unique aspect then that will be called out.
Environment
1 |
|
Create the VM
minikube support multiple instance. Use profile to set the instance.
1 |
|
- I use 2 cpus here because I have 6 core laptop. Keep this number at or below 50% of overall laptop resources. There is nothing in this series of exercises that is CPU intensive but minishift has a 10 pod per core limit.
- I use virtualbox because it is available on all platforms. There a number of hypervisor options https://kubernetes.io/docs/tasks/tools/install-minikube/#install-a-hypervisor
- Setting the Kubernetes version explicitly so you know what you are getting, only applies to minikube
- Minishift is secured by default, this creates an cluster “admin” user
- A mechanism on OpenShift that allows the execution of an image with any user id, including root. https://github.com/burrsutter/9stepsawesome/issues/3
- Profiles are somewhat new in minikube land. These allow you to more easily switch between versions of Kubernetes as well as configurations involving Istio and/or Knative
Check status, IP & Dashboard/Console
1 | $ minikube --profile 9steps config view |
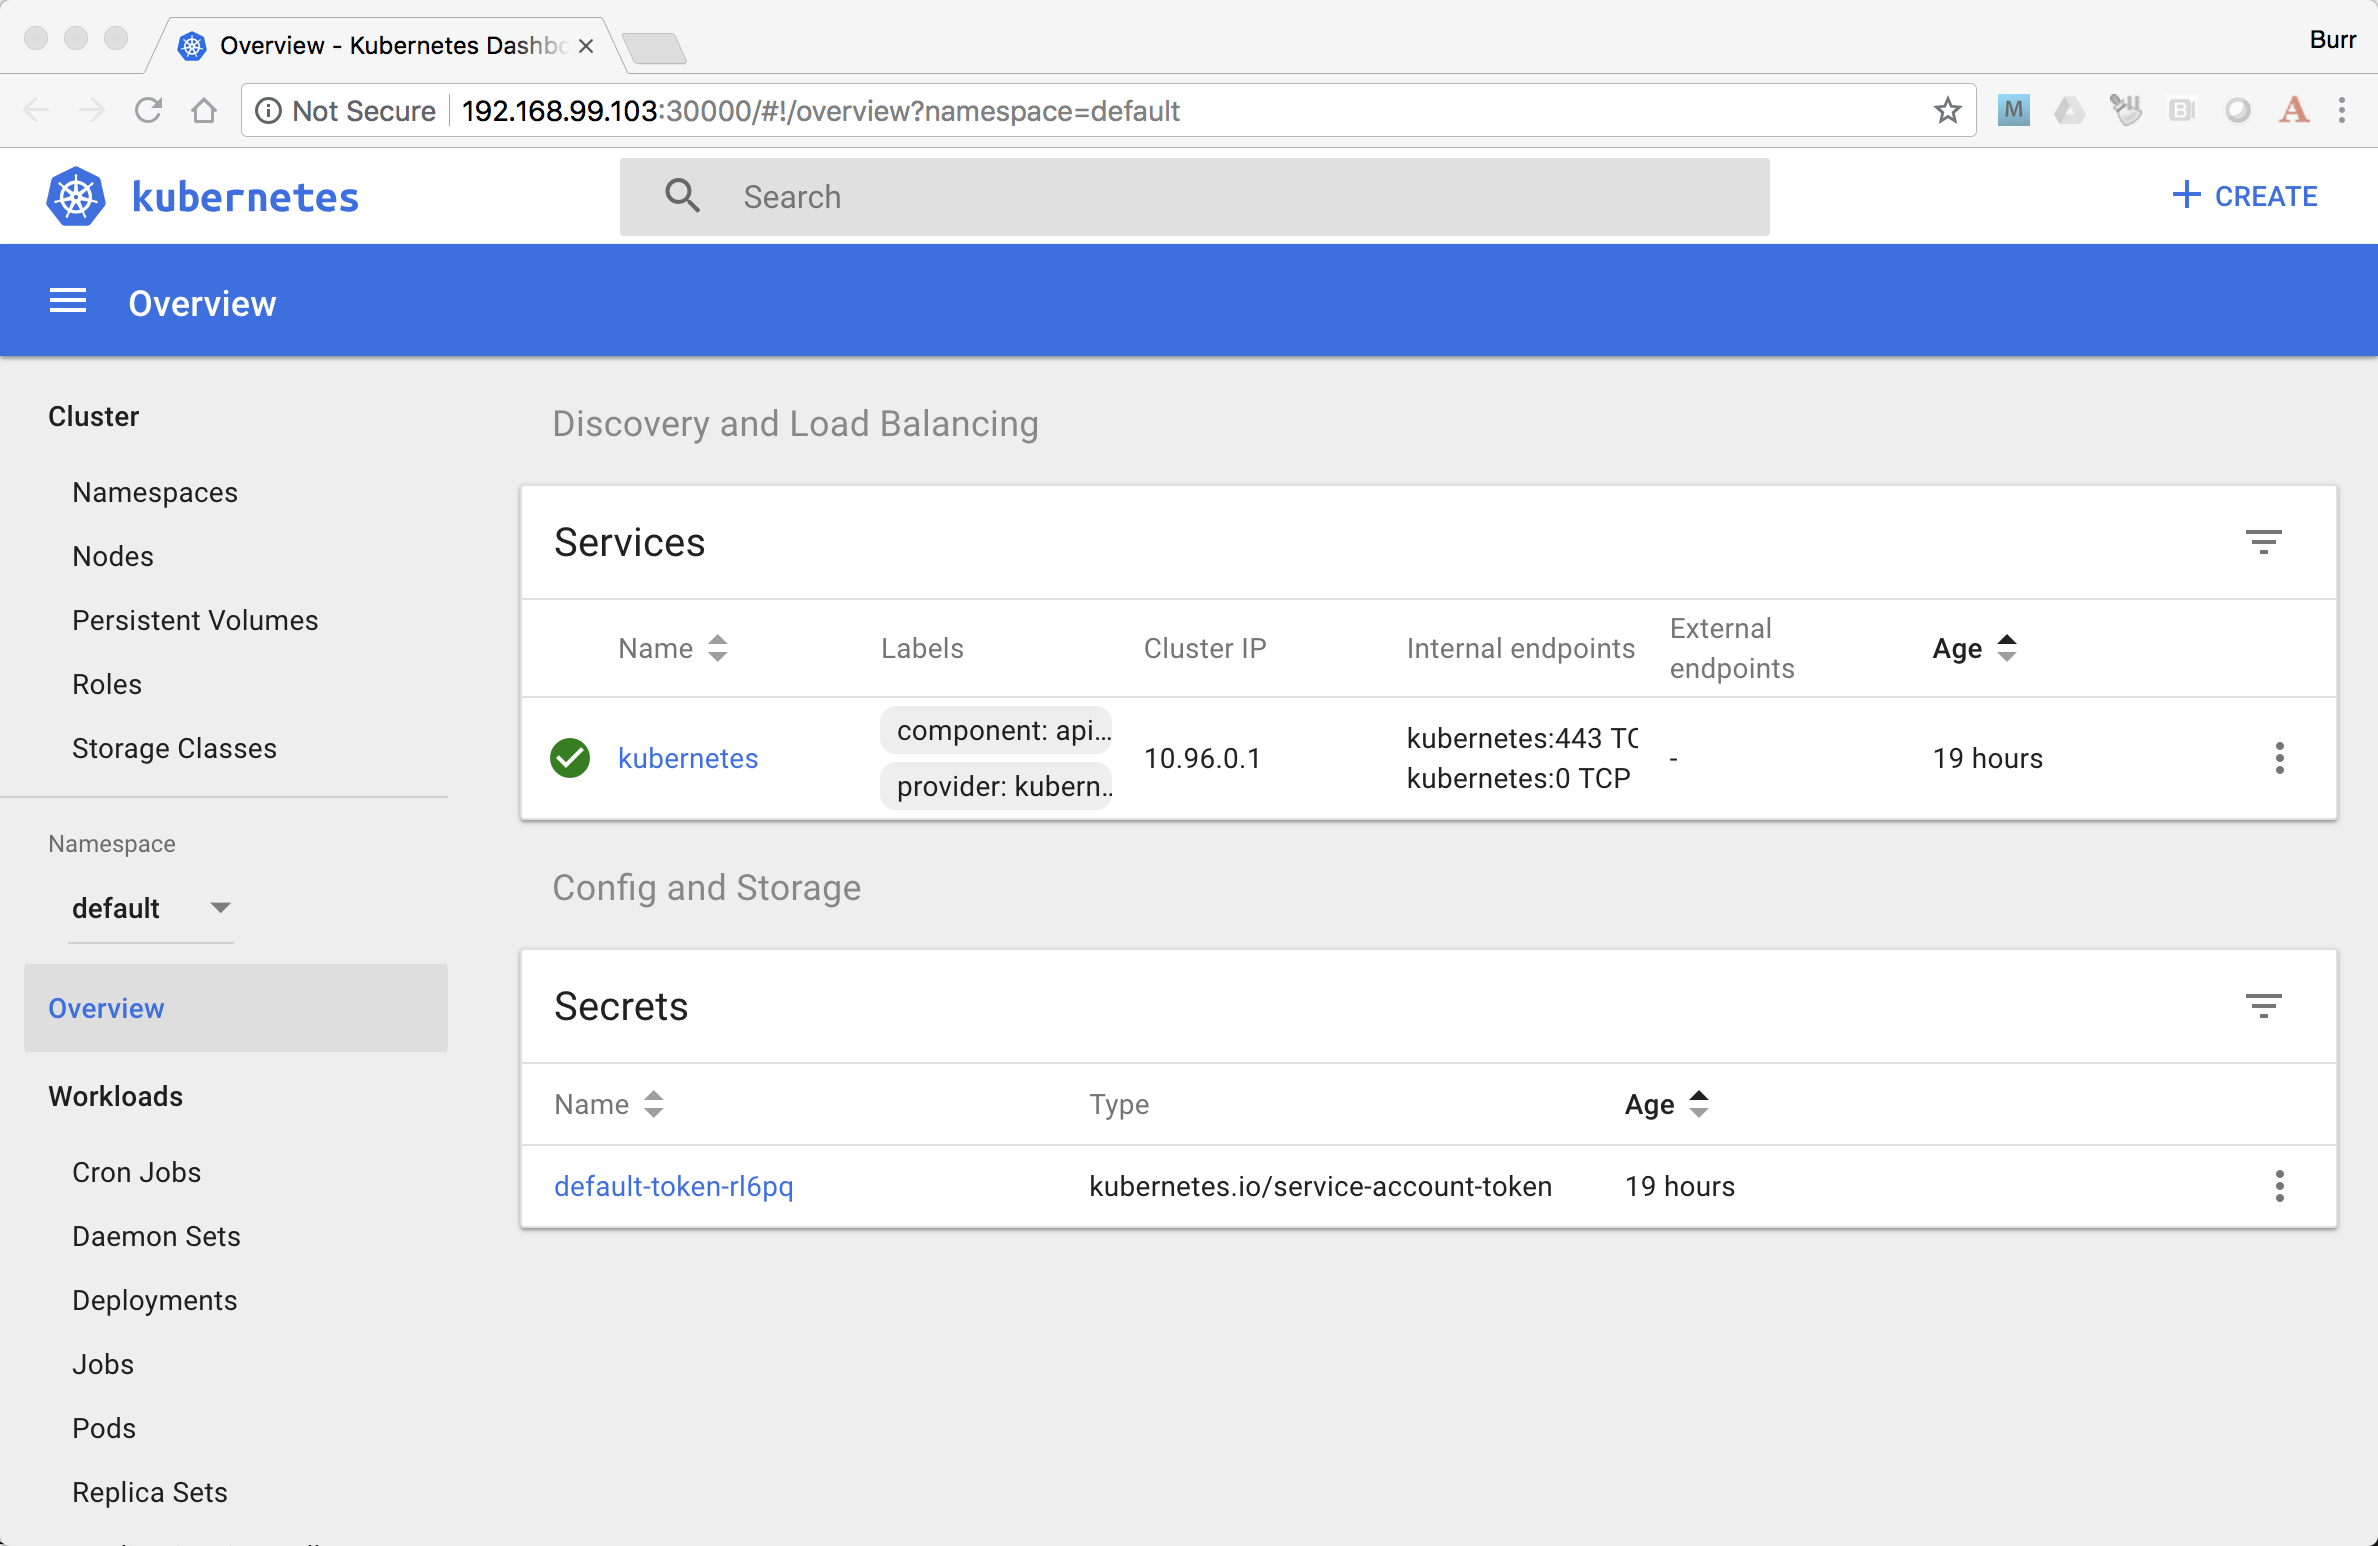
Figure 1. minikube dashboard
Check your kubectl CLI
1 | $ kubectl config current-context |
and if needed, point kubectl back at minikube with “kubectl config use-context minikube”
Also, there is a cool tool that makes switching between Kubernetes clusters and the context a lot easier https://github.com/ahmetb/kubectx
1 | brew install kubectx |
Namespaces & Pods
1 | $ kubectl get namespaces (1) |
- Running this command when using minishift will likely result in the following error due to not having admin rights on the openshift cluster. To login as an admin so that you can execute the following command and login with admin (password: admin)
1 | Error from server (Forbidden): namespaces is forbidden: User "developer" cannot list namespaces at the cluster scope: no RBAC policy matched |
Nodes
A Kubernetes cluster normally consists of 3 Masters and N Workers. Minikube and Minishift are all-in-one Master+Worker single VMs
1 | $ kubectl get nodes --show-labels |
Configure Env for Docker
1 | $ minikube --profile 9steps docker-env (1) |
- This command allows configure your “docker” CLI tool against your minikube or minishift’s Docker daemon. If you are using GKE, AKS, EKS or other, then you will need to “docker push” your image to that platform’s favorite image registry. You can also use quay.io as a vendor neutral registry
- This command puts the “oc” CLI tool in your PATH
If you use minikube with error for pulling images, to use an image without uploading it, you can follow these steps:
- Set the environment variables with eval $(minikube docker-env)
- Build the image with the Docker daemon of Minikube (eg docker build -t my-image .)
- Set the image in the pod spec like the build tag (eg my-image)
- Set the imagePullPolicy to Never, otherwise Kubernetes will try to download the image.
Using Docker CLI
1 | $ docker ps |
These commands should now be pulling from your minikube/minishift hosted docker daemon. You can turn off the Docker for Mac/Windows daemon to save memory.
Minikube/Minishift Happy?
1 | $ minikube --profile 9steps ssh (1) |
- you can shell into your VM and check on resources
Hello World
Minishift is secured by default and requires you to login
1 | $ oc login $(minishift --profile ip):8443 -u admin -p admin |
The “default” namespace should already be the current context, but setting it here to make it obvious
1 | $ kubectl config set-context $(kubectl config current-context) --namespace=default |
The command “kubectl run” is the fastest way to deploy a pod (think linux container). It is useful during development but NOT recommended for production. You will receive a deprecation warning.
1 | $ kubectl run hello-minikube --image=k8s.gcr.io/echoserver:1.10 --port=8080 |
It produces a Deployment
1 | $ kubectl get deployments |
which produces a ReplicaSet
1 | $ kubectl get replicaset |
which produces a Pod
1 | $ kubectl get pods |
You create a Service
1 | $ kubectl expose deployment hello-minikube --type=NodePort |
and see that newly minted Service object
1 | $ kubectl get service |
You can find the Service’s URL
1 | $ minikube --profile 9steps service hello-minikube --url |
or just load up the URL in your favorite browser https://screencast.com/t/k5GVJlfg
Note: minishift has a slightly different variant on the “service” command
1 | $ minishift openshift service hello-minikube --url |
You can also get the NodePort using jsonpath
1 | $ kubectl get service hello-minikube -o jsonpath="{.spec.ports[*].nodePort}" |
Or using the “jq” (brew install jq) command line tool to parse the JSON is also a very handy trick
1 | $ kubectl get service hello-minikube -ojson | jq -r '.spec.ports[].nodePort' |
The Deployment that was generated via your “kubectl run” commamnd actually has a bunch of interesting defaults
1 | $ kubectl describe deployment hello-minikube |
but that is beyond the scope of simply getting started, just remember the “kubectl describe
Another key tip to remember, is “get all” which is useful for seeing what other objects might be floating around
1 | $ kubectl get all |
Clean up
1 | $ kubectl delete service hello-minikube |
And you will notice that the pod also terminates. In another terminal window, use the -w to watch as the pod changes state
1 | $ kubectl get pods -w |
Use Ctrl-c to stop watching pods
You can shutdown the VM to save resources when not in use
1 | $ minikube --profile 9steps stop |
and if you need to wipe out the VM entirely
1 | $ minikube --profile 9steps delete |
Your minikube configuration goes in a hidden directory at
1 | $ ls $MINIKUBE_HOME/.minikube/profiles/9steps/ |
and your kubectl configuration goes in a different hidden directory that is normally at
1 | $ cat $HOME/.kube/config |
BUT, based on the change in the 0_setenv_minikube.sh, this directory has been moved by setting an env variable, helping to keep your various minikube worlds separated
1 | export KUBECONFIG=$MINIKUBE_HOME/.kube/config |
So if things go really badly, you might need to wipe out those directories
1 | $ rm -rf ~/.kube |
More resources
https://github.com/kubernetes/minikube#installation
https://kubernetes.io/docs/setup/minikube/#quickstart including proxy challenges
Hyperkit for Mac
https://github.com/kubernetes/minikube/blob/master/docs/drivers.md#hyperkit-driver
Node.js tutorial
https://kubernetes.io/docs/tutorials/hello-minikube/
Dealing with multiple clusters